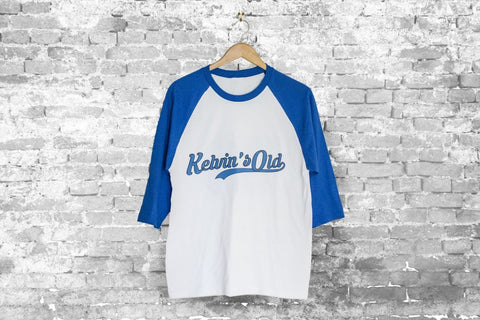
Custom DIY T-Shirts
It’s your friend’s birthday! You want to surprise your friends with an awesome custom DIY shirts to stand out anywhere you go! I know I would love to do this with my friends. You can make custom DIY t-shirts for any occasion for example how perfect would custom shirts be for a bachelorette/bachelor party or a kid’s event! If this is what you are looking for let’s get started!
Here’s what you’ll need:

- As many shirts as you want. The best fabric to use is cotton or poly blend.
- Scissors
- Multiple sheets of NuFun Activities Light Fabric Transfer Paper
- Scissors
- Iron
- Cutting machine such as Cricut or Silhouette
- The first step is to create whatever design you would like on your T-Shirts. You can use Microsoft word or illustrator whatever you prefer.
- Cut your design. Simply lay your transfer paper on the mat of your cutting machine with the white (print) side facing up and cut that way if you want plain white letters.

- After your design goes through the cutting machine peal the edge of the paper making sure you do not pull the lettering from the transfer paper.
- After you do so take your shirt and measure where you want the lettering to go. I roughly measure a hand down and right below my thumb is where I will lay my lettering.

- I then will cut around my lettering so I can align exactly where I want it.

- Then simply iron on the lettering you can closely peal the edge to make sure it is done transferring.

- If you are making more than one shirt, completely steps 1-6 and then you will have fun matching shirts for any event you go to!


